
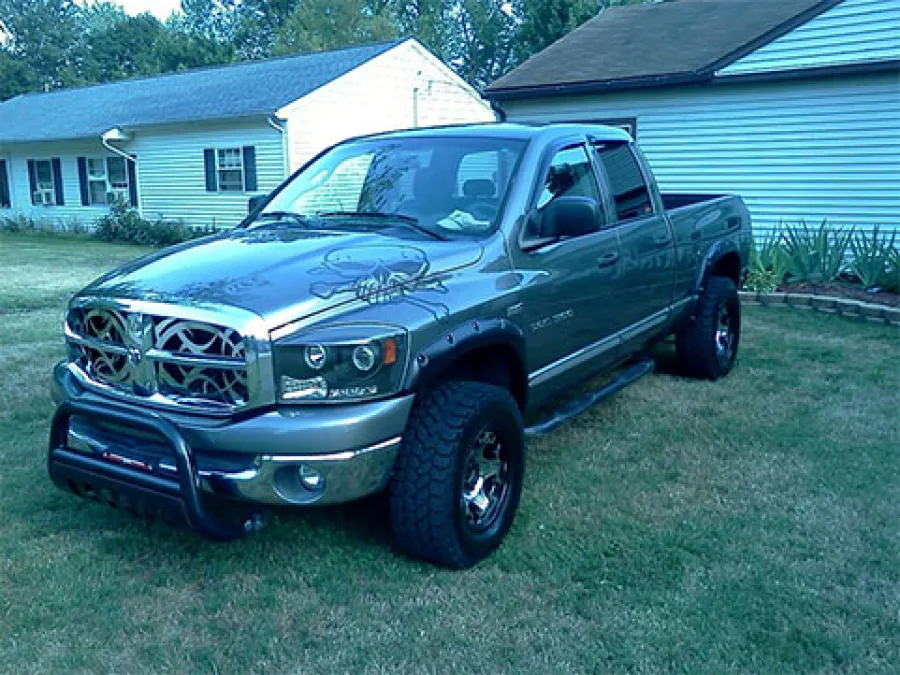
2006 RAM
For this project I used the following tools:
- Body filler (to fix the pitted and rusting Bull Nose)
- 5″ orbital sander
- Rubber Gloves
- Safety Glasses
- Sandpaper (60grit, 120grit)
- 1 Herculiner kit
- Painters plastic (though this product dries hard it is still a thin fluid during application protect your surfaces.
- 1 Disposable Paint Pan
- 1 Small cheap paint brush (for getting into those spots that the roller can't reach).
- Shop Rag or old T-shirt
- Spray bottle with rubbing alcohol in it
- Ratchets, wrenches, screwdrivers (to remove parts prior to applying Herculiner)
**You may want to order additional rollers depending on the coats you desire and where this coating is being placed**
STEP 1
STEP 2
STEP 3
STEP 4
STEP 5
STEP 6
REMOVING THE BULLNOSE

PREPPING THE BULLNOSE

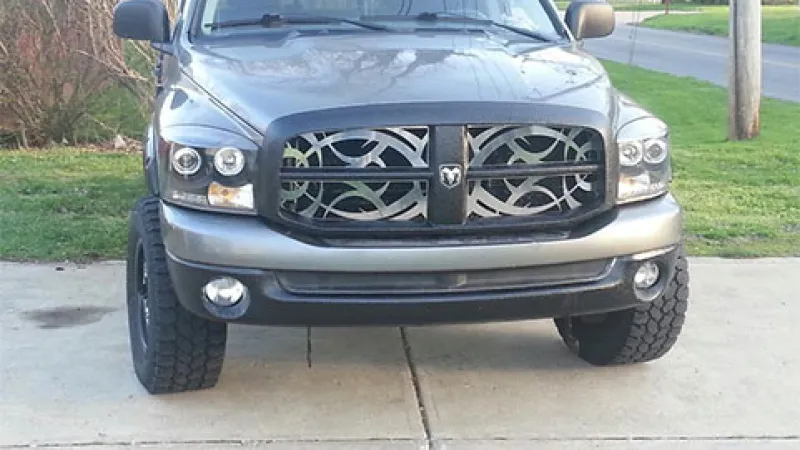
REMOVING THE GRILLE

CLEANING & PREPPING
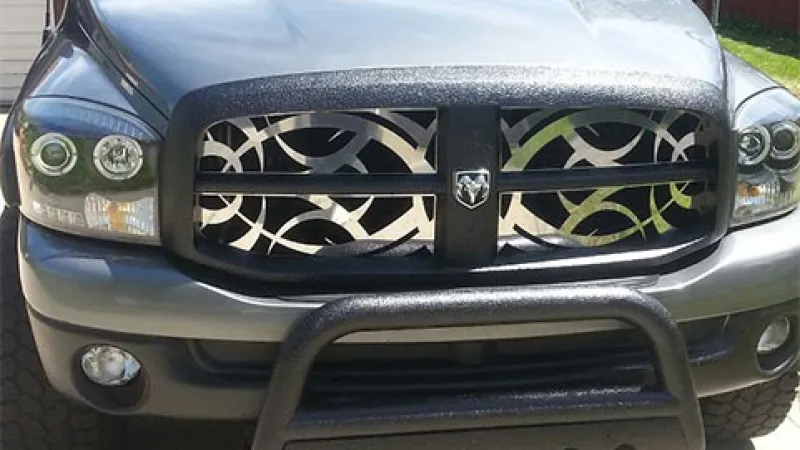
APPLICATION

DRYING TIME
Notes:
For this particular application, the front and rear bumpers weren't removed, but rather taped off with green Frog Tape and edges were coated using the brush first, as explained above.
It's highly recommended to use the roller - instead of the brush - in the more visible areas to ensure proper texture.
Also, this product - by itself - will dry a glossy color, but, without using glossifier, it will lose that sheen after being weathered for a few weeks, leaving the matte black appearance.